How to change a Van Remmen UV lamp

With having a Van Remmen UV unit installed, there comes a point where you will need to know how to change a Van Remmen UV lamp. Here is a simple guide on how to do it yourself.
Here are our top tips on how to change a Van Remmen UV lamp
First, you need to take out the old Van Remmen UV lamp. To do this you need to undo the black locking plug at the end of the chamber. We would advise that before you do so, just loosen off the cable gland at the top of it a touch. If it’s gripping then you will be twisting the cable around as well as undoing the locking plug which is much harder.
Once the locking plug from your UV lamp is free, you will need to disconnect the end plug and the UV lamp. This is a push-fit connection so a bit of pull and the most gentle of wiggles will do the job here. Once the UV lamp is free remove it in as straight a line as possible, these will come out easily if level and if you start to feel it gripping then you’re pulling it on an angle. Breaking the UV lamp here doesn’t matter, we’re just trying to not make a mess.
While the UV lamp is out we recommend that you have a peek down the inside of the quartz sleeve – or UV tube – with a torch, any damage spotted here could save you time and money down the line.
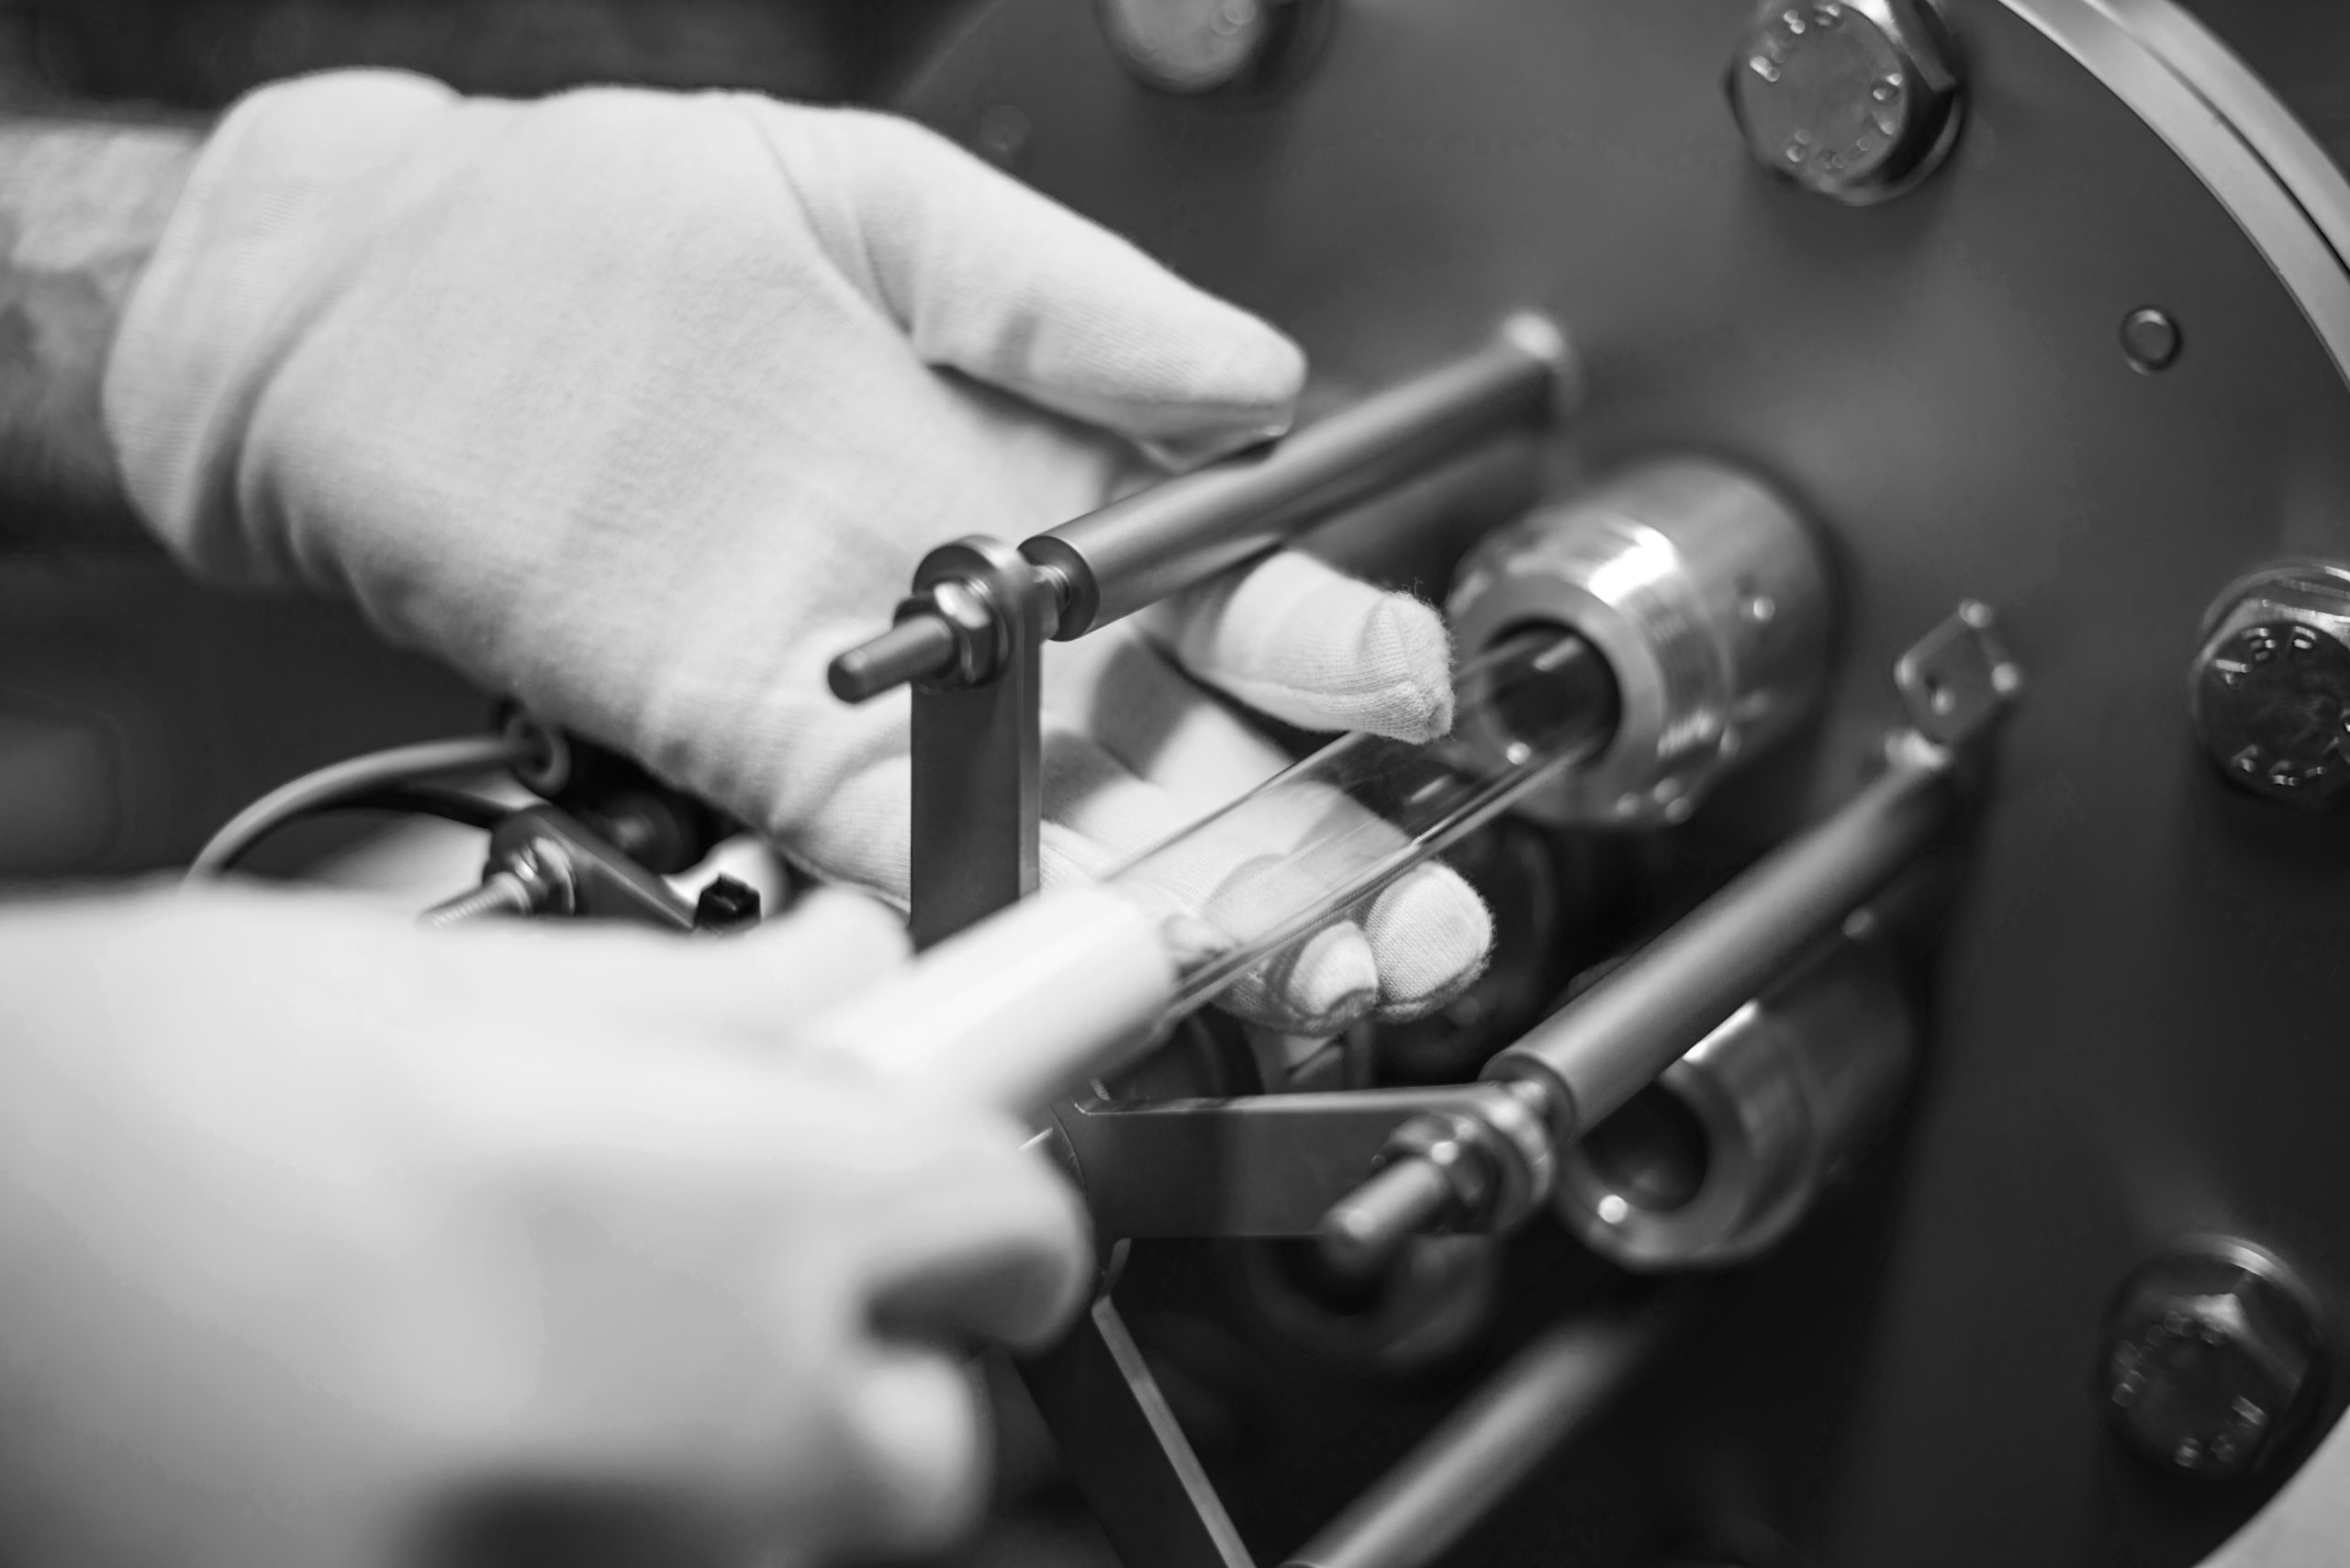
When inserting the new Van Remmen UV lamp in it’s important to not touch the glass or any part of it, some of the lamps can be quite long so if it’s going to be a bit tricky then wear gloves. Where the UV lamps run really hot, the oil from your skin that is left after you touch it creates an area that gets much hotter than the rest of it, this area will be much weaker than normal after a while. So where possible we would suggest you always wear gloves.
From here it’s just the reverse of taking a Van Remmen UV lamp out. Slide the UV lamp in most of the way, reconnect the end plug, screw up the locking plug, tighten the cable gland and you’re there. See, how easy was that? If you do run into any trouble along the way though, don’t hesitate to contact us for help.
James has kindly created a video on how to change or replace a Van Remmen UV lamp, which you can watch below:


